Change Data Capture (CDC) from YugabyteDB CDC to ClickHouse
This post describes how we can send data from YugabyteDB to ClickHouse through YugabyteDB’s Change Data Capture (CDC) feature.
Background
YugabyteDB CDC is a pull-based approach to CDC introduced in YugabyteDB 2.13 that reports changes from the database’s write-ahead-log (WAL). Additionally, the detailed CDC architecture is mentioned in YugabyteDB’s documentation.
ClickHouse is an open source column-oriented Online Analytical Processing (OLAP) database mainly used for analytical workloads. More specifically, it helps users build real-time reports and dashboards using aggregated and raw data ingested in ClickHouse.
Why ClickHouse as a sink for YugabyteDB CDC
Knowing the transactional workloads of YugabyteDB, it’s difficult to build an in-house data warehouse, HTAP (Hybrid Transaction Analytical Processing) or OLAP data stores. But ClickHouse’s built-in analytics supports these requirements. With ClickHouse, users can offload and retain the data for multi-year retention of legal or fiscal compliance. Additionally, real-time dashboards or batch-based reports and feeds exist for external applications or systems.
Architecture diagram

Following the above diagram, ClickHouse ingests the streamed data from Kafka configured from YugabyteDB’s CDC architecture. Even better, ClickHouse requires no additional Kafka configuration.
Kafka integration with ClickHouse

The above diagram illustrates how a ClickHouse table can read a message from YugabyteDB’s Kafka broker using the Kafka table engine. But this engine transfers data to the target ClickHouse table implemented with MergeTree.
Additionally, the Kafka topic streamed in the Kafka broker is listened to by the Kafka table engine based on “Topic Name” and “Consumer Group Name”.
ClickHouse sink configuration with YugabyteDB CDC
In this section, we’ll walk through the steps needed to configure a sink in ClickHouse.
Step 1: You might already have a ClickHouse server. But as an alternative, you can install a stand-alone ClickHouse server from binaries based on your operating system and kernel version using this link. Additionally, you can install the server as a docker image from Docker Hub.
Step 2: Post installation, ensure the ClickHouse server can run. Specifically, the ClickHouse client needs to be installed if it’s not installed together. You can install the ClickHouse client from Docker Hub or using this installation package based on your operating system.
Step 3: Next, ensure YugabyteDB CDC is configured as your database. It also needs to run based on the above architecture diagram along with its dependent components. Additionally, you should see a Kafka Topic name and Group name. It will appear in the streaming logs either through the CLI or via the Kafka UI.
Step 4: From here, create a Kafka table engine in ClickHouse and ensure all the Kafka parameters are aligned based on the YugabyteDB CDC Kafka configuration.

Here’s an example:

Step 5: Next, create a MergeTree table in ClickHouse to store the CDC data ingested from the Kafka topic.

Here’s an example:

Step 6: Create a materialized view in ClickHouse to transfer the data from the Kafka table engine to the MergeTree table.

Here’s an example:

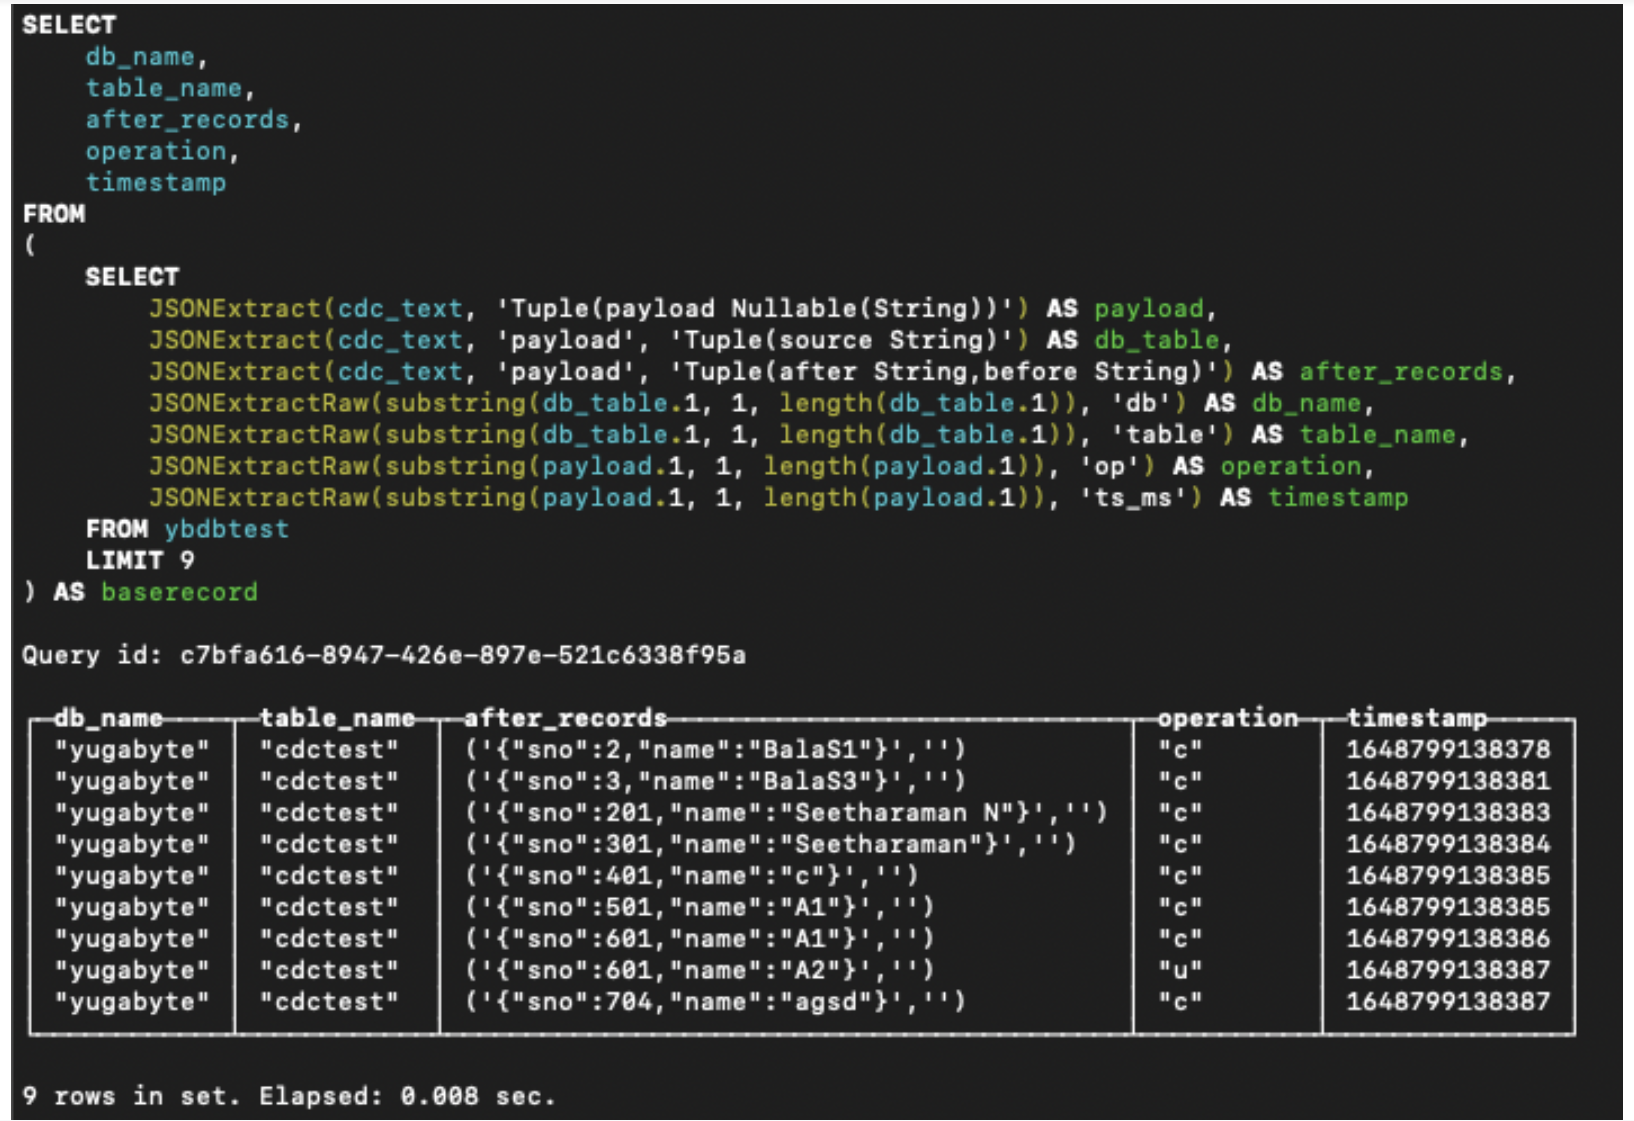
Step 7: Finally, extract the CDC data from the ClickHouse table.
Using the JSONExtract command, we can extract the changed datasets from the ClickHouse table, as shown below.

Conclusion
Using YugabyteDB’s CDC features, ClickHouse can continuously assess the latest record from Kafka and store it in its staging layer. Additionally, it will load these records into a local data warehouse or OLAP tables based on the operation and timestamp. And finally, it will help us build real-time or batch reporting through any visualization tools that support ClickHouse as a datasource.
Got CDC questions? Join the YugabyteDB Community Slack channel for a deeper discussion with over 5,500 developers, engineers, and architects.


